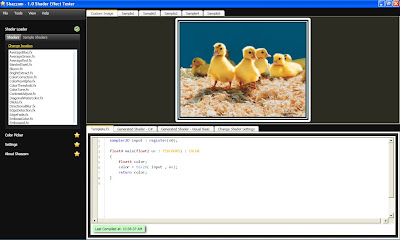
Shazzam will allow you to easily compile and preview the shader and also automatically generates C# and VB code for easy integration into your project. Here's a brief HLSL tutorial for you beginners out there.
Let's start with the most basic of shaders. The following code simply returns the image fed to it.
sampler2D input : register(s0);
float4 main(float2 uv : TEXCOORD) : COLOR
{
float4 color;
color = tex2D( input , uv);
return color;
return color;
}
Let's see what the code does line by line. First there's:
- sampler2D input : register(s0);
Then there's:
- float4 main(float2 uv : TEXCOORD) : COLOR { }
The types of floats supported by pixel shaders are:
- float (Our normal float which is a number)
- float2 (represents a point in 2D) x,y
- float3 (represents a point in 3D) x,y,z
- float4 (represents a point in 4D) x,y,z,w
For the rest of the code:
float4 color;
color = tex2D( input , uv);
return color;
return color;
First we create a float4 named color, then we use the tex2D function to sample the input based on the uv coordinates. Then we return the float4 color. All this does is return our original image. Our main( ) function must return some color data or the shader won't compile.
Now that we've got the basics down, let's create a color correction shader which will allow us to manipulate the red, green and blue data of the picture.
sampler2D input : register(S0);
float Red : register(C0);
float Green : register(C1);
float Blue : register(C2);
float4 main(float2 uv : TEXCOORD) : COLOR
{
float4 color = tex2D( input , uv);
color.r += Red*color.r;
color.g += Green*color.g;
color.b += Blue*color.b;
return color;
}
We needed to add:
float Red : register(C0);
float Green : register(C1);
float Blue : register(C2);
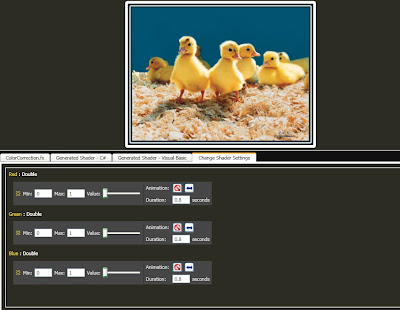
These set our dependency properties, Red, Green and Blue as floats, which are parameters that we can control. They will appear in Shazzam on the "Change Shader Settings" tab as shown below
The code that manipulates the sampled texture is:
color.r += Red*color.r;
color.g += Green*color.g;
color.b += Blue*color.b;
As color is a float4, it stores 4 values independently which are red, greed, blue and alpha. To manipulate these values, we can use color.r, color.g, color.b and color.a . The code multiplies our Red parameter by the textures r value, and does the same for green and blue.
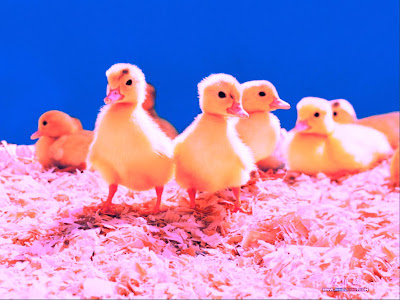
Here's the image after setting Red and Blue to 1
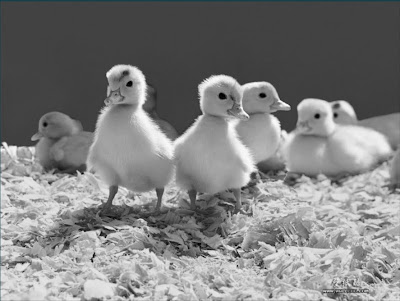
Other effects created by color value manipulation:
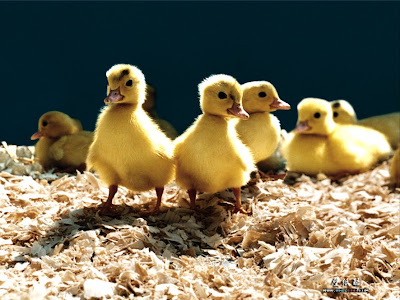
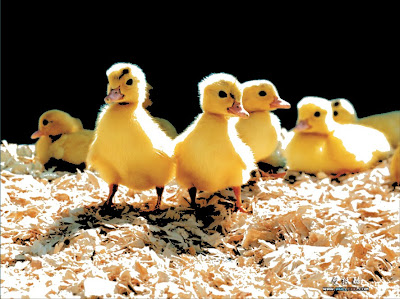
Besides the color and alpha values, we can manipulate the coordinates of the texture. The following code zooms in to the picture
sampler2D input : register(S0);
float4 main(float2 uv : TEXCOORD) : COLOR
{
uv.xy *= 0.5;
uv.xy += 0.2;
float4 c1 = tex2D(input,uv);
return c1;
}
To manipulate the coordinates, we have to adjust the coordinates accordingly before sampling the texture. uv.xy *= 0.5; multiplies the coordinates by 0.5 this enlarges the texture. uv.xy += 0.2 moves the texture up and left. this centers the image. Then only we sample the texture as c1.
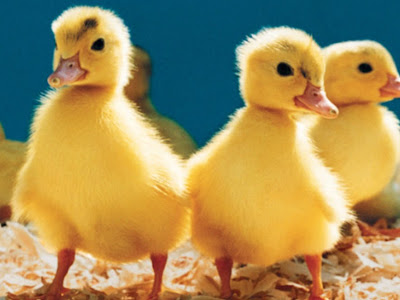
For a wavy effect:
sampler2D input : register(S0);
float4 main(float2 uv : TEXCOORD) : COLOR
{
uv.x += sin(uv.y * 25)*0.03;
float4 c1 = tex2D(input,uv);
return c1;
}
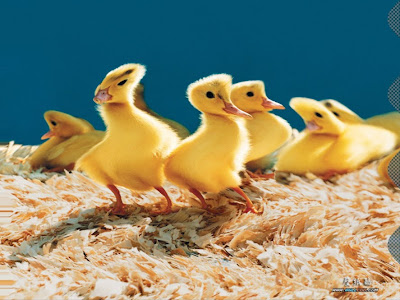
So there you have it. The basics of HLSL pixel shader programming. These are the absolute basics as HLSL is a lot more complex to harness the power of the GPU.
For HLSL documentation: Microsoft Developer Network
For other useful links on HLSL and also WPF:
- http://blogs.microsoft.co.il/blogs/tamir/archive/2008/06/17/hlsl-pixel-shader-effects-tutorial.aspx
- http://blogs.msdn.com/greg_schechter/archive/2008/05/09/a-series-on-gpu-based-effects-for-wpf.aspx
- http://svetoslavsavov.blogspot.com/2009/07/using-gpu-accelerated-shader-effects-in.html
- http://blog.shazzam-tool.com/
- http://www.codeplex.com/wpffx


make this one thru UMExpo lah bro... Dr Faisal mesti approve pnye..
ReplyDeleteI'm not sure this is really expo material. thanks anyways. huhu
ReplyDelete